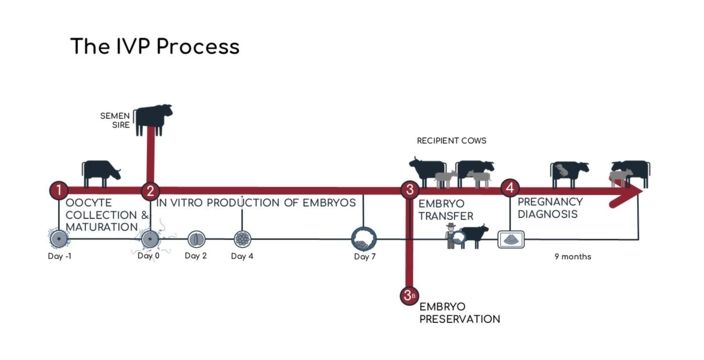
There are four key steps for the production of calves by in vitro produced (IVP) embryos. This is outlined in the image below.
1. Oocyte collection & Maturation
The process always begins with the collection of oocytes (eggs) from the chosen donor female(s). The most common method of oocyte collection is called ovum pick up (OPU) or transvaginal recovery (TVR). This involves the aspiration of oocytes from the ovary through the vagina. For more information regarding this procedure visit our OPU resource. Collection of oocytes from abattoir derived ovaries is also a commonly used process and is often utilised in routine laboratory QA procedures.
As soon as the oocytes are aspirated, they are graded and the viables are placed into in vitro maturation (IVM) media. When oocytes are collected from the ovary, they are immature, so they must go through a maturation process so that they are able to be fertilised by in vitro fertilisation (IVF). This maturation often commences before the oocytes reach the laboratory and takes approximately 24 hrs.
2. In vitro fertilisation & culture
Once the oocytes are mature, they are ready to go through the process of IVF. This is when semen from the selected sire is washed (prepared/processed) to create a sample of viable sperm cells. The sperm cell vigour and motility are recorded, and the concentration adjusted before placing into the well with the mature oocytes. Good semen quality is paramount in terms of ensuring good IVP production. See also semen preparation resource.
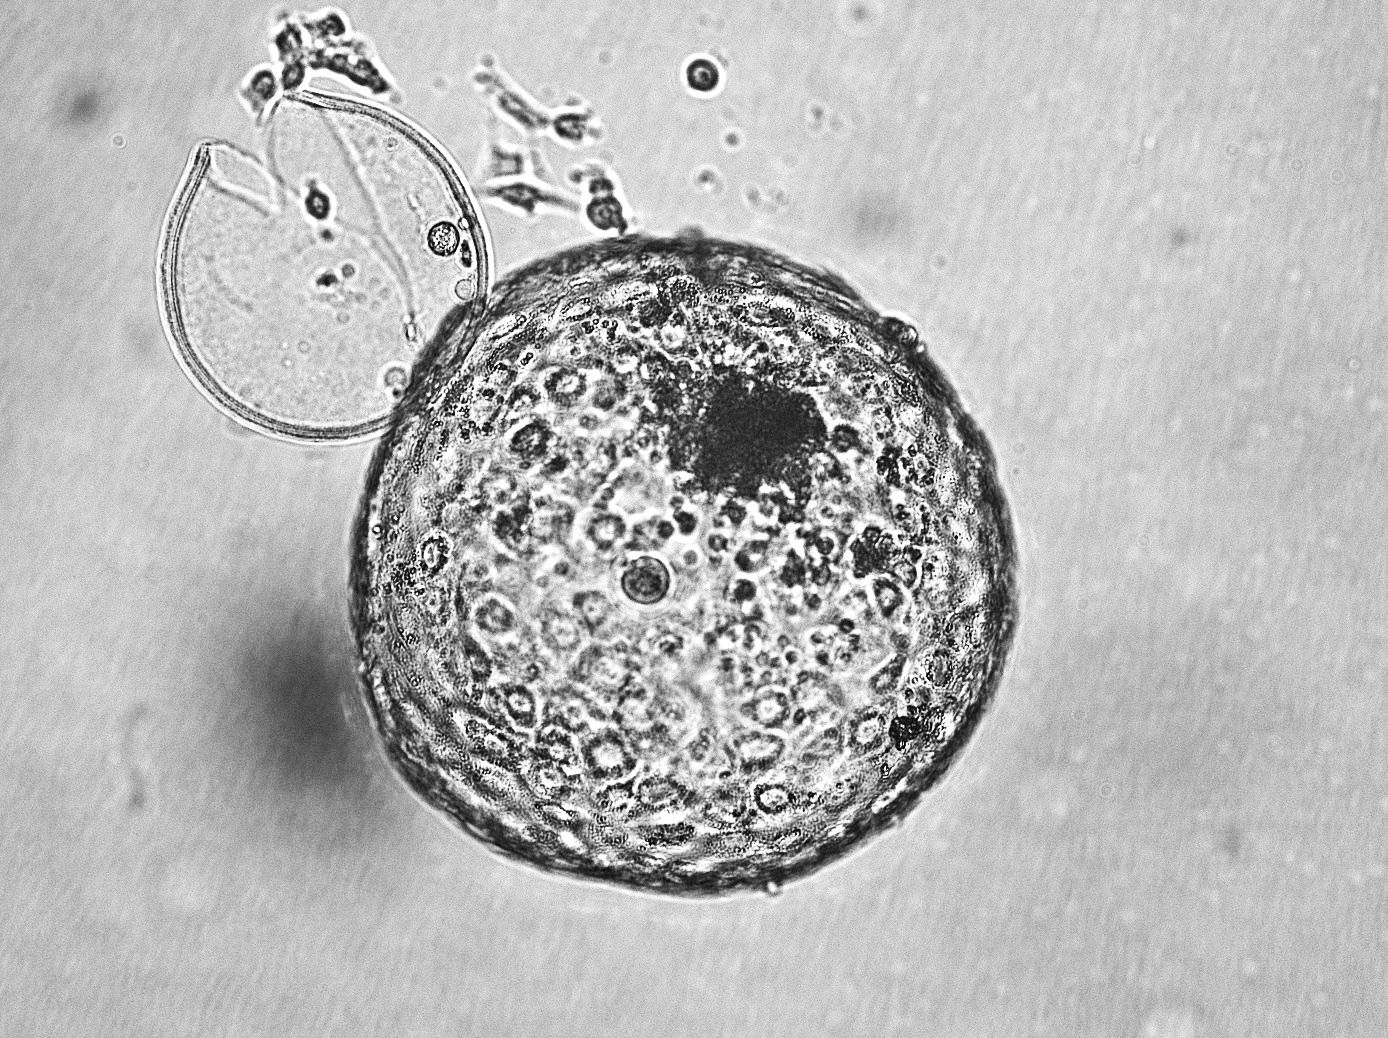
After IVF the oocytes are then placed into in vitro culture (IVC), where they continue to develop. The embryologist will usually conduct a check at Day 2 or 3 after fertilisation, to report the number that have reached the two-cell stage or better, known as cleavage rate. This is a good indication of the success of the IVF process and the estimated embryo development rate. A second check is usually done around late on Day 6 to predict and/or early on Day 7 to determine the number of embryos that have developed to the blastocyst stage. The blastocyst stage is the last stage of embryo development in the IVP process.
3. Embryo preservation and/or transfer
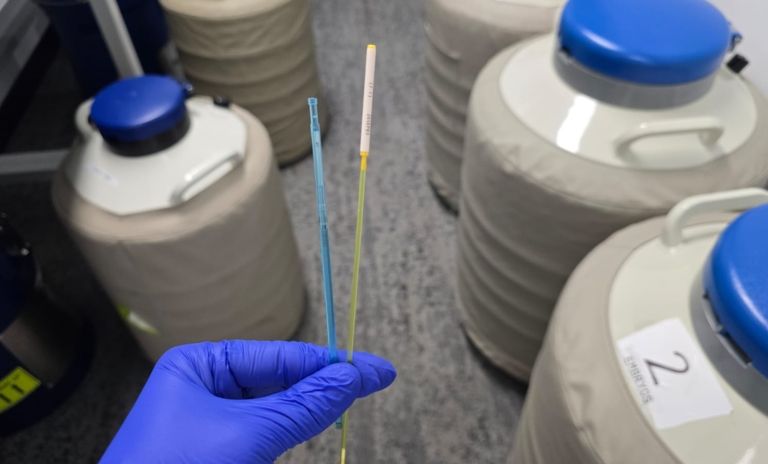
Once the embryos have reached the blastocyst stage, each embryo is graded, and any Grade 1 embryos can be cryopreserved for later transfer or can be transferred fresh into recipient females. There are two main techniques of cryopreservation for in vitro produced embryos: i) vitrification and ii) direct transfer. Thawing vitrified embryos involves a series of technical steps, that differs from the direct transfer technique. The direct transfer technique is growing in popularity as it allows for embryos to be transferred directly into the recipient females after a thawing process like thawing a semen straw for artificial insemination. In general, vitrified embryos result in slightly higher pregnancy rates than direct transfer embryos.
Recipient females are synchronised to allow for a number of embryos to be transferred at the same time (see also our synchronising recipients resource). This is important for fresh embryo transfer programs. Alternatively, if recipients have been observed in oestrus (on heat), an embryo can be transferred 7 days later. This is more common in Dairy recipients and when technicians are readily available.
4. Pregnancy diagnosis
Pregnancy diagnosis can occur as early as 28 days of gestation by an experienced operator using transrectal ultrasound. As embryos are 7 days old at the time of transfer, this means that as little as 3 weeks after embryo transfer the first pregnancy diagnosis can occur. A final pregnancy diagnosis is recommended at 90 days gestation to confirm pregnancy, as pregnancy loss can occur before this time.